v0.2 - Console, Loops & Conditions
Console
When developing something new it is great to be able to playing around with your code in a live environment. What we have just built is completely open to the global scope so we can pop open our console and have full access to our application.
Go ahead and open the console using either:
⌘ (command) + ⌥ (option) + j on Mac
or
control + shift + j on Windows
TIP
I encourage you to get comfortable with shortcuts, for all the things you do routinely. In general try to keep your hands on the keyboard as much as you can.
In the console you can write
console
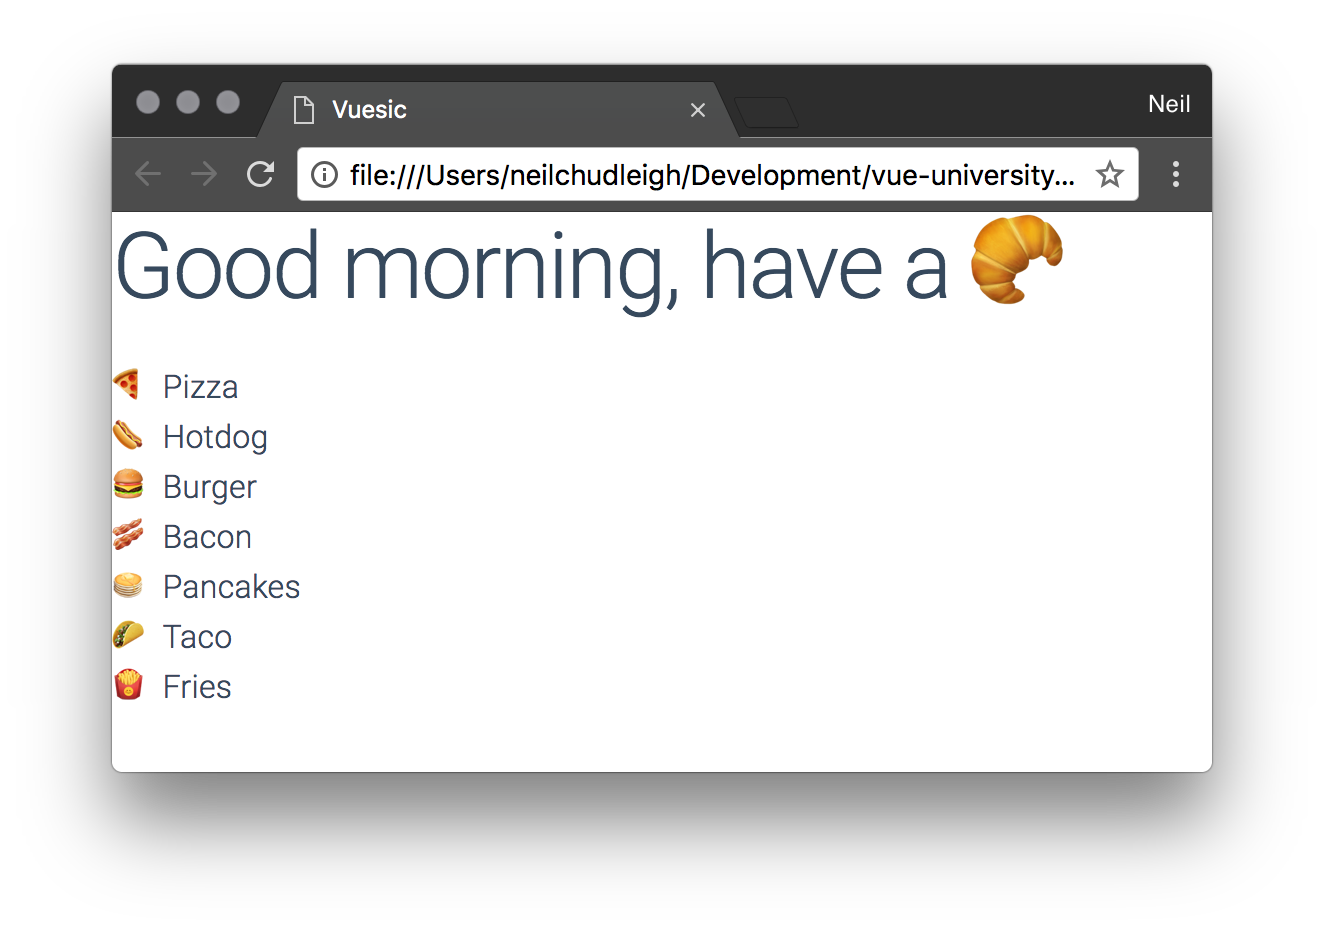
app.message // "Good morning, have a 🥐"
// Now lets change it to something else
app.message = "Good afternoon, have an 🥑"
In realtime you will see the DOM (Document Object Model) update and display your new message. This may or may not seem that impressive, but imagine you are working on a tricky problem and want to test how your app behaves with different data or settings. The console is an extremely valuable tool we can use to debug and test.
Loops
Lets get some real data in our app and display it in a list. Copy this list of foods to your clipboard
[
    {name: 'Pizza', icon: '🍕'},
    {name: 'Hotdog', icon: '🌭'},
    {name: 'Burger', icon: '🍔'},
    {name: 'Bacon', icon: '🥓'},
    {name: 'Pancakes', icon: '🥞'},
    {name: 'Taco', icon: '🌮'},
    {name: 'Fries', icon: '🍟'},
]
Now paste it into your app as a variable called food.
app.js
const app = new Vue({
    el: '#app',
    data: {
        message: 'Good morning, have a 🥐',
        food: [
            {name: 'Pizza', icon: '🍕'},
            {name: 'Hotdog', icon: '🌭'},
            {name: 'Burger', icon: '🍔'},
            {name: 'Bacon', icon: '🥓'},
            {name: 'Pancakes', icon: '🥞'},
            {name: 'Taco', icon: '🌮'},
            {name: 'Fries', icon: '🍟'},
        ]
    }
})
We can check this data is available in the console by typing
console
app.food // (7) [{…}, {…}, {…}, {…}, {…}, {…}, {…}, __ob__: Observer]
We will see a 7 item array output on the console with a strange little thing at the end called an observer. An observer is what enables Vue to know when data changes and whether it needs to do update anything.
Now lets show off our food in the app!
Head over to index.html and create a div element with a special attribute called v-for. This tells Vue to take the element and repeat it for each item in any iterable (Arrays, Objects, Strings)
index.html
<div id="app">
    <h1>
        {{message}}
    </h1>
    <div v-for="f in food">
        {{f.icon}} {{f.name}}
    </div>
</div>
Refresh your browser and you will see a rendered list of all our foods.
Same as with the messages before we can change the data live in the console and see it change in realtime.
console
app.food.push({name: 'Watermelon', icon:'🍉'});
Watermelon will now pop in as the last item in the list.
Conditions
Sometimes we want to hide or show things based on a condition. In this case lets show only the foods that start with a 'B'. We will take the name of our food item and use the index 0 to grab the first letter and check if it is equal the letter B.
index.html
<div
    v-for="f in food"
    v-if="f.name[0] == 'B'"
>
    {{f.icon}} {{f.name}}
</div>
We will now see just Burger and Bacon in our list, awesome.
The condition put into the v-if attribute tells Vue whether or not to render the element. We can also use v-show, which will just use CSS to hide it display: none