v0.5 - Components and Props
Components
As with many other frameworks we can define components in Vue. Components keep our code organized and let us re-use functionality across our application.
They have all the same functionality of our core application (methods, computed variables, data etc) and one new one called props that we will cover in a second.
Lets start by declaring the component at the very top of our app.js file.
app.js
const ConcertView = Vue.component('concert-view', {})
Here we are assigning the new component to a variable called ConcertView. We will use this variable to register the component in our app. In Vue it is recommended to use 2 word names for components so that they don't conflict with native HTML elements in the future.
We are using Vue.component and supplying the name concert-view this is the name that we will use to reference the component in the HTML. It will look like <concert-view></concert-view>
The second argument is the object that we put things such as data, methods, computed.
Before we register and inject the component lets add a bit more to it so we can see it.
Props
Create a props key on the object and assign an object to it. This is where we configure what can be passed into a component. We are going to register concert and configure it as required and that it must be an Object.
Alongside the props key we will put a template key. Different than with our App Root a component does not bind itself to an element in the HTML (in our case #app). Instead it gets a string containing HTML that is re-rendered when things change. So lets put in a div containing the concert name with the class card. This will give us a simple card styling around each concert.
app.js
const ConcertView = Vue.component('concert-view', {
    props: {
        concert: {
            type: Object,
            required: true
        }
    },
    template: `
        <div class="card">{{concert.name}}</div>
    `
})
We can now register the component on our Application. Simply define a new key called components and put ConcertView as the first key of the object.
app.js
const app = new Vue({
    el: '#app',
    components: {
        ConcertView
    },
    ...
TIP
The syntax used to register the component works in all cases where you have access to ES6 features. If you have a variable that you want to put into an object at a key of the same name, simply put the variable in the object.
Check out the below example:
var apple = '🍎', lemon = '🍋', peach = '🍑';
var fruits = {apple, lemon, peach};
>> console.log(fruits)
{apple: "🍎", lemon: "🍋", peach: "🍑"}
Finally use the component in the place of our loop of concert names from before.
We will bind concert to the :concert property, (: is a shortcut for v-bind:).
<concert-view v-for="concert in filtered_concerts"
    :concert="concert"
    :key="concert.id">
</concert-view>
You may have also noticed the :key binding on the component as well. Vue uses this property to track DOM nodes and as a result, can simply move them around instead of destroying and recreating them when filtering or sorting. Unless you v-for is really simple (as ours was) you should be setting :key to something unique for the object.
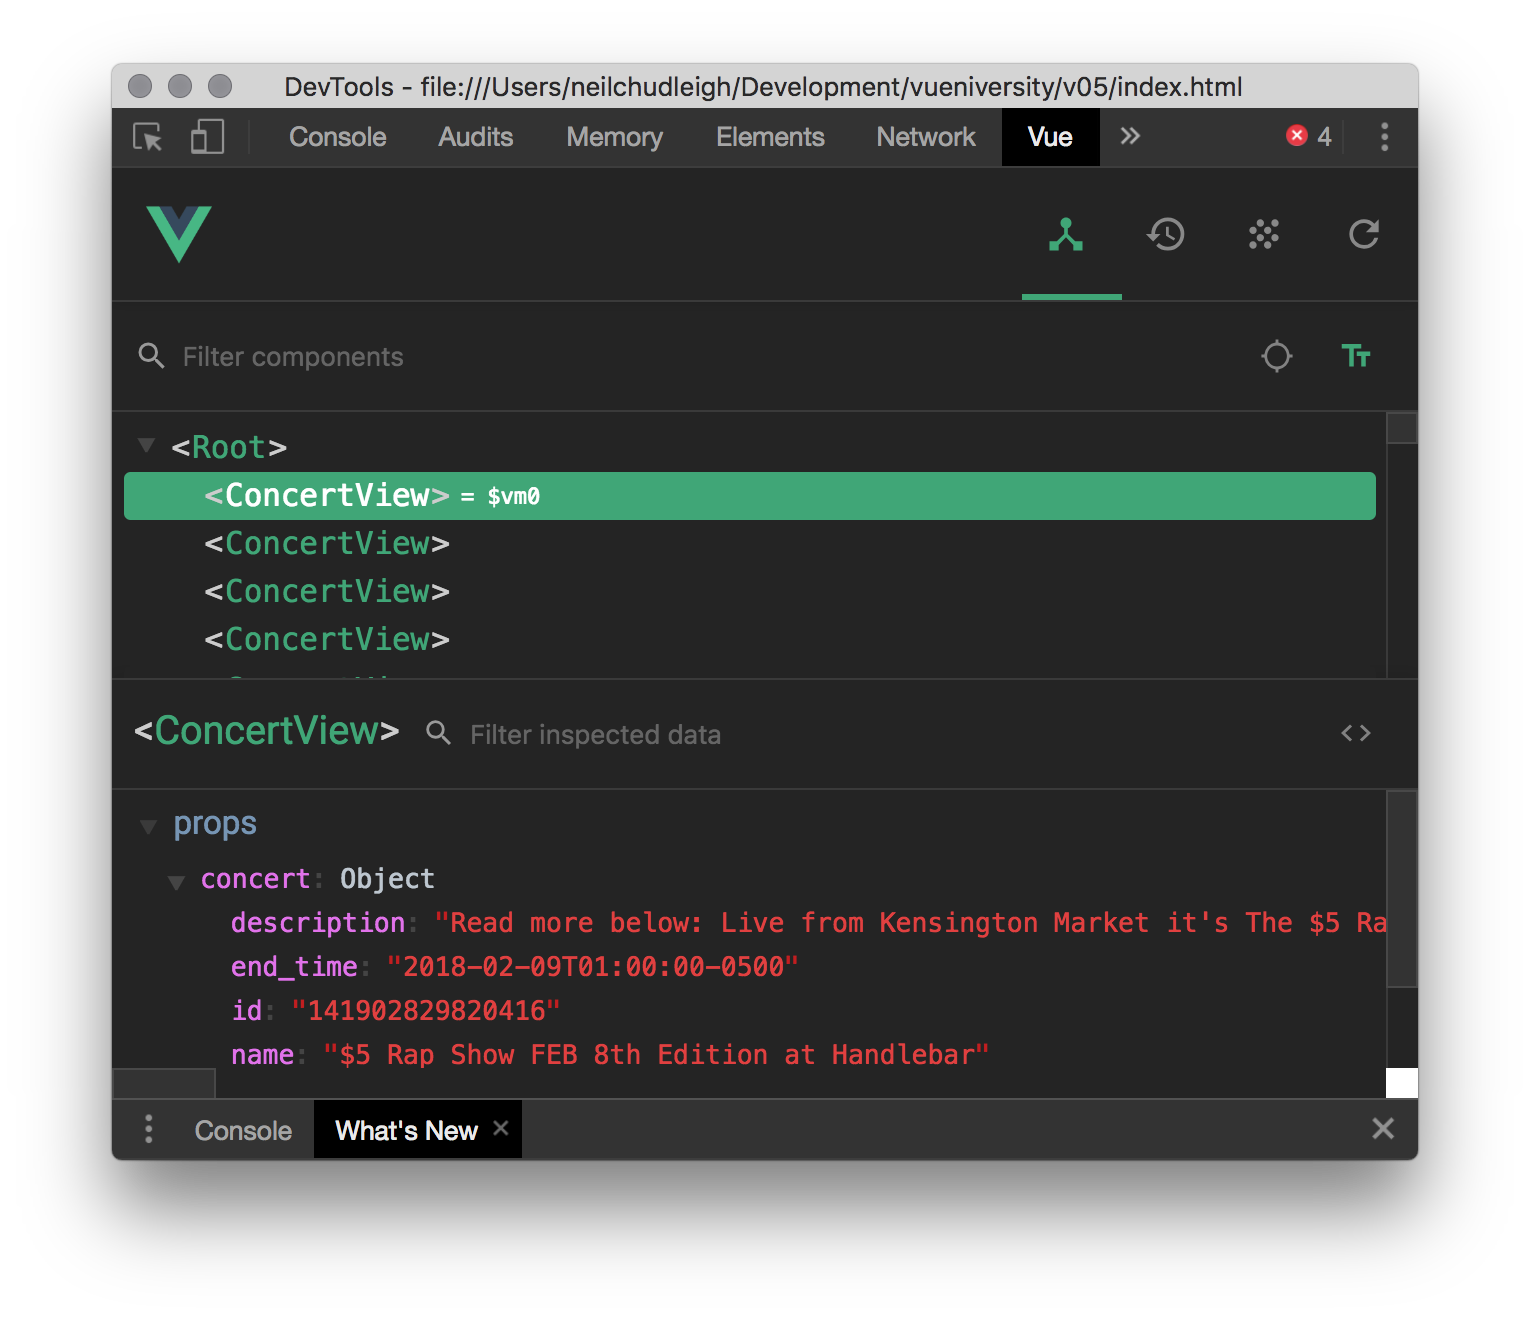
If we refresh the app we will see the names have a box around them and our app is using our component. We can jump into the Vue DevTools and open the <Root> component to see the list of <ConcertView> components.
Lets beef up the information in the card a bit, lets add the name of the venue, the date and the time that doors open at.
We will humanize timestamp with a computed variable called time. Since the start time is in a standard format we can just toss it into Javascript's Date utility and save it to a variable called start.
Then we can grab the hour and minutes using getHours and getMinutes. We get the hours in a 24 hour format but I find a 12 hour clock easier to read. So lets do a quick check here to see if the start time is in AM or PM and we can use the modulo operator to reduce the hours into a 12 hour format. Then put it all together with a simple template string. Our friend toDateString is doing most of the heavy lifting here.
We can then plop it into our template right after the location. We will now see something like Jun 28th 2018 doors at 7pm on each concert.
const ConcertView = Vue.component('concert-view', {
    props: {...},
    computed: {
        time() {
            const start = new Date(this.concert.start_time);

            let start_hour = start.getHours();
            let start_min = start.getMinutes();
            const start_pm = start_hour > 12 ? 'pm' : 'am';
            start_hour = start_hour % 12;

            return `${start.toDateString()} doors at ${start_hour} ${start_pm}`
        }
    },
    template: `
        <div class="card">
            <div class="row">
                <div class="column">
                    {{concert.name}}
                    <div style="font-size:1.25rem">
                        {{concert.place.name}} - {{time}}
                    </div>
                </div>
            </div>
        </div>
    `
})